Photos on the wood are amazing to see whenever you look at them. The wooden photos are also durable for a long time. To make durable your photos, you have to know how to polyurethane pictures on wood.
Applying a picture to wood will be enjoyable after reading the 10 easiest steps below.
Read the precautions before going to the main operation.
Start from right here.
What do you need to polyurethane pictures on wood?
- A plain wood
- Paintbrush
- Polyurethane packs
- Hand gloves
- Mask
How to polyurethane pictures on wood

Step 1 Choose a place: You must choose a better place to operate the entire process. The polyurethane chemical spreads a bitter smell. You may not tolerate the smell.
Your garden or veranda can be a perfect place to do the operation. You must confirm that the place is rich with open air. Besides, you need air to dry up the coatings. You cannot use a hairdryer or anything else to fasten the drying process. Don’t make it hurry otherwise your picture may get yellowed.
Step 2 Select a wood piece: Select a plain wood to install your pictures on it. You can buy this kind of wood in the local market. Besides, you can make it own. Make sure that the surface of the wood is soft, well brushed, and efficient to place your pictures.
In the case of size, get one appropriate to attach all your pictures. Try to get one with extra size so that you can hold and hang the frame.
Step 3 Clean the wood piece: Clean up the wood with fresh water and vinegar. Any dust or particles on the wood may damage the entire process.
An extra object of the wood will knock the picture to appear. So, you really don’t want to see any other substances in your favorite pictures. After cleaning the wood, let it dry for a while. It should dry up completely before the main operation.
Step 4 Prepare your pictures: Select your pictures and make a plan for how you want to attach the pictures on the wood. If you have several pictures to attach, then select a lineup.
Clean up the pictures also with photo cleaners. You can get this type of cleaner in the market. Make sure the pictures are dry enough to coat.
Step 5 Place your picture on the wood: Make tiny lines on the woods with pine or any sharp object. You must place the pictures orderly.
Be careful in this stage because once you apply a coat, you can never change the position again. When you are attaching the pictures on the wood, try to hide the wood from the air. The wind may blow the pictures in the air.
If possible, get an assistant to hold the pictures with his clean hands so that you can place them all together.
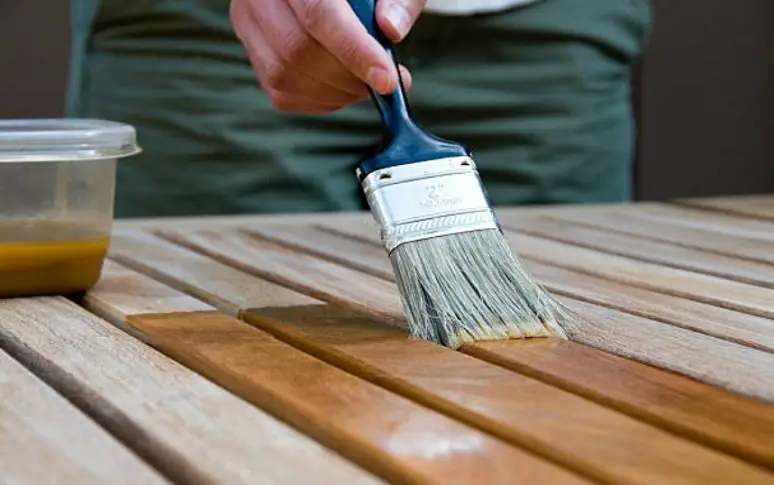
Step 6 Apply a coat of polyurethane: Put on your mask because you are going to experience a bitter smell of the chemical. Apply the first coat of polyurethane on the pictures with some extra area of the wood.
In this case, use a wide and soft paintbrush. You must scrape the entire thing is a soft hand. Be sure that you are covering the whole area at once. Don’t try to re-brush over the picture again and again. The heavy use of the brush may harm the color and the process as well.
Step 7 Let it dry: After finishing the first coating, let the wood dry up in the air. You can also take rest at that time.
If you are in an open space, make sure there is no dust in the air. If any dirt falls into the picture, it will stay there permanently and will appear so badly. Wait until the wood dries up completely. You have to do the job several times. So, keep the patient in this respect.
Step 8 Apply other coats eventually: Now apply the second coat following the previous one. Remember, you must not run the brush repeatedly. The exact number of coats needed for your pictures depends on the numbers of pictures and condition of the wood.
In general, you have to repeat the coating for 5 to 10 times eventually. Keep your eyes on the color of the picture whether you can see any yellowed or not. If not, then you are on the right path.
Step 9 Again wait to dry: Let the wood dry up again in the open air. Don’t use your hairdryer to dry up the wood faster. Keep patient and watch the picture drying up in the dust-free air.
Step 10 Finishing up: After finishing all the coatings, the operation ends. Now, place the frame at a suitable place to blow your feelings.
Read more about best tung oil
Precautions while polyurethane pictures on wood
- Don’t use a hairdryer to dry up the coatings.
- Don’t repeat the brush over the picture at once.
- Select an open area to apply the process.
- Make sure the place is dust-free.
- Heavy coatings of polyurethane may add yellowed on the picture.
Bottom line: The process of polyurethane pictures on wood is not a simple job for the beginners. However, these instructions on how to polyurethane pictures on wood can help you to get the best result.
You must follow the precautions attentively otherwise, you may ruin your favorite pictures and time as well.